Affinity is now completely free, and the video shows how to use it to build full edits without paying Adobe. If you wonder whether you can cut Lightroom Classic and Photoshop from your workflow, seeing this process in action gives you a clear sense of what you gain and what you give up.
Coming to you from Nathan Cool Photo, this thorough video explains how to get Affinity through a free Canva account and why the tool’s zero cost comes with some friction. You do not get Lightroom’s navigation, and Affinity’s tools sit inside different “personas” that slow down high-volume work. Cool points out that importing raw files through the stack system takes more time than the catalog flow you may be used to. He also stresses that Affinity works well if you only edit a few homes a month or are testing the market, but the delay becomes noticeable once you push into large batches. You see exactly where Affinity adds steps and how those steps affect your pacing.
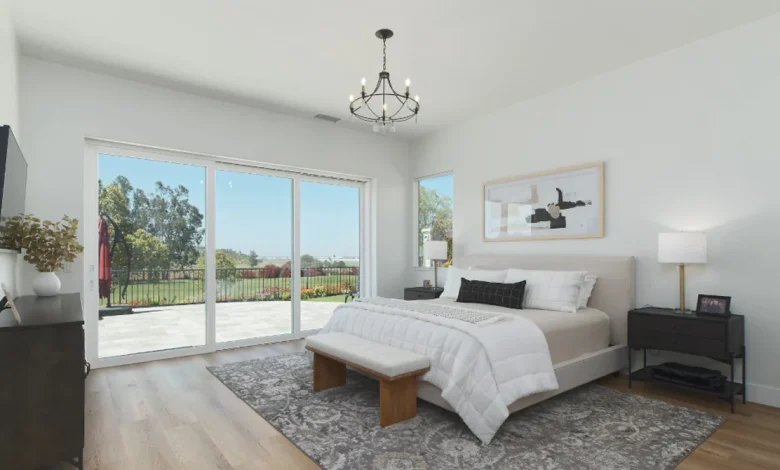
The walkthrough starts with a three-file edit built from ambient, flash, and a window pull. After bringing raw files into a stack, Cool ungroups them into layers. He labels each layer, enters the Develop Persona, and sets up the Develop Assistant so lens profiles and noise reduction apply consistently. Affinity does not always detect lenses automatically, so he loads a separate raw file to build a manual preset. He uses a Nikon Z5 and a Sigma 14-24mm lens, and the steps show how Affinity handles lens correction without Adobe’s profile library. With the preset applied, the ambient layer goes above the flash layer in luminosity mode at a controlled opacity. The window pull moves to darken mode with a hide all mask so you reveal clean window detail with quick polygon selections rather than complex brush work.
The video also contrasts two ways to finish the file, each with its own pace. The first is a destructive path that uses a stamped layer to enter the Develop Persona again for global brightness, contrast, clarity, white balance, and sharpening. It feels similar to a fast Lightroom pass but without history or non-destructive steps. The second path uses live filter layers and adjustment layers, letting you sharpen, adjust shadows and highlights, and shift white balance without locking edits into a single layer. Geometry correction still requires extra steps, and Affinity lacks Lightroom’s one-click vertical and horizontal controls. Cool shows that you can match the look you expect from Adobe, but you spend more time clicking between personas and panels. If you edit interiors daily, the difference between two minutes in Adobe and ten minutes in Affinity becomes substantial, especially when you multiply that across 30 images. Check out the video above for the full rundown from Cool.